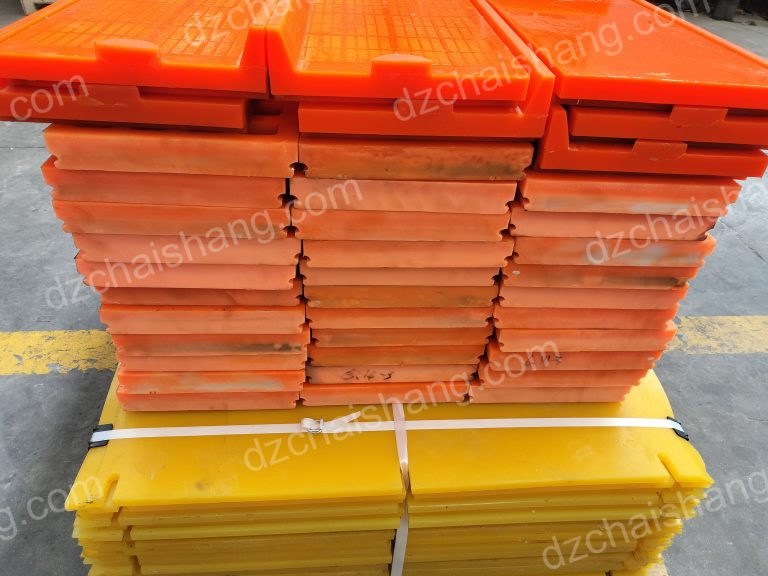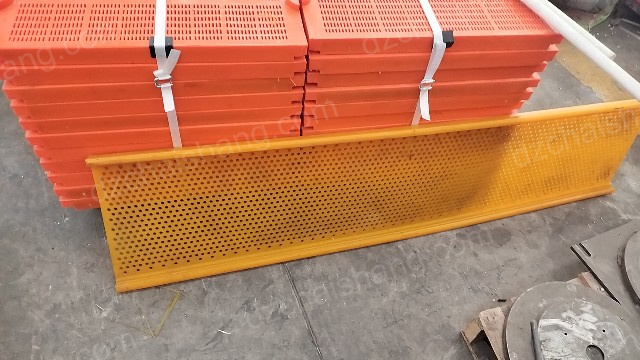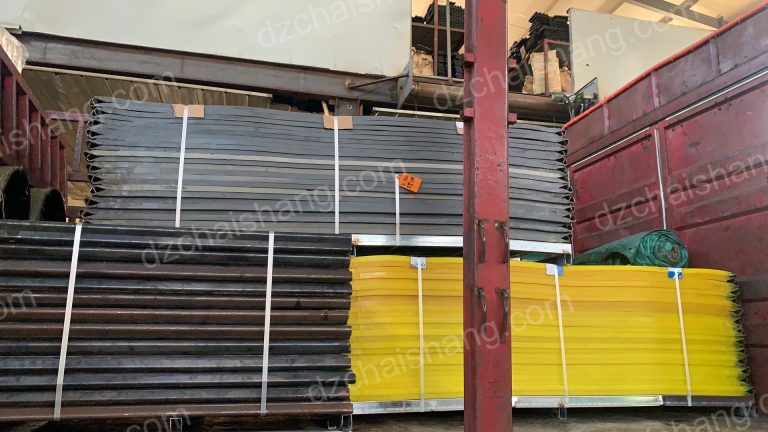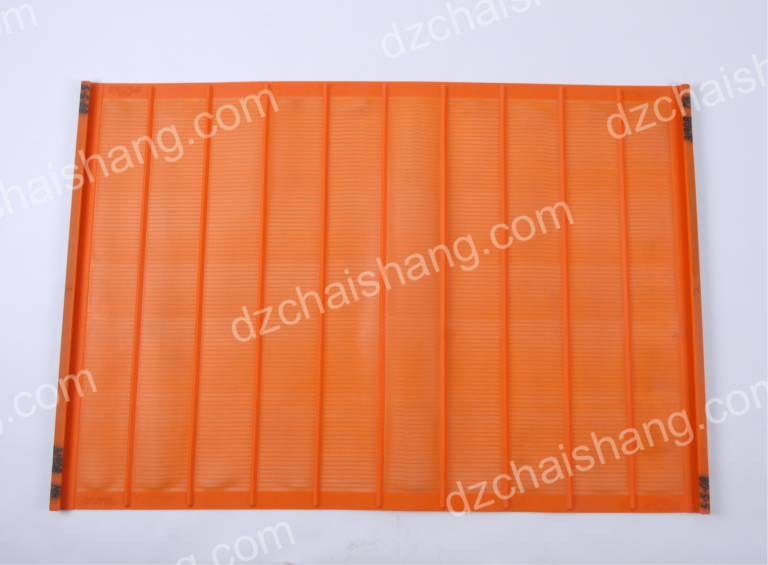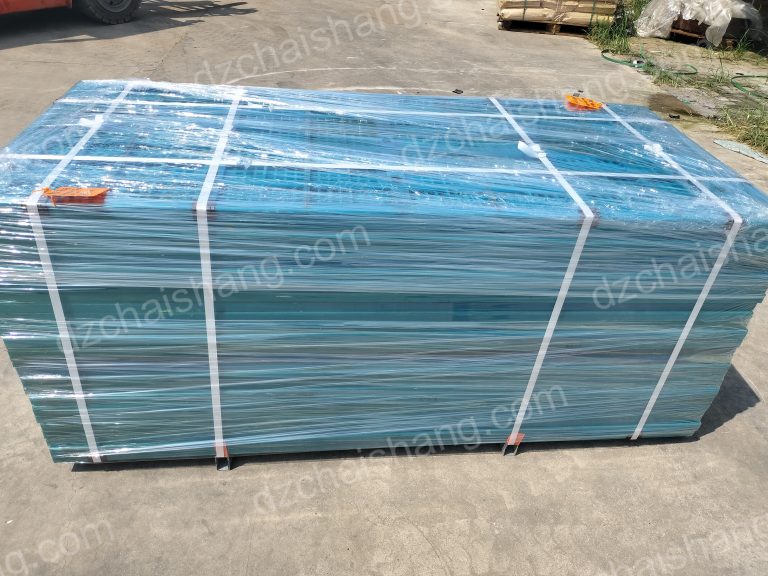
Good quality stack sizer Polyurethane panel,polyurethane screen till it dries
How to Achieve Good Quality Stack Sizer polyurethane panel with polyurethane screen: A Step-by-Step Guide Step 1: Prepare the polyurethane panel Before…
How to Achieve Good Quality Stack Sizer polyurethane panel with polyurethane screen: A Step-by-Step Guide
Step 1: Prepare the polyurethane panel Before you begin the process of creating a stack sizer polyurethane panel with polyurethane screen, you must first prepare the polyurethane panel. This involves cleaning the panel with a mild detergent and water solution, and then drying it thoroughly. Step 3: Attach the Polyurethane Screen
Once the panel is cut to size, you can attach the polyurethane screen. Start by applying a thin layer of adhesive to the back of the screen. Then, carefully place the screen onto the panel and press it firmly into place. Allow the adhesive to dry completely before proceeding.
Step 4: Secure the Polyurethane Screen
Once the adhesive has dried, you can secure the polyurethane screen to the panel. Use a staple gun to attach the screen to the panel. Make sure to place the staples evenly and securely to ensure that the screen is firmly attached.
Step 5: Install the Stack Sizer
Once the polyurethane screen is securely attached to the panel, you can install the stack sizer. Place the stack sizer onto the panel and secure it with screws. Make sure to use the correct size screws for the stack sizer to ensure that it is securely attached.
Step 6: Test the Stack Sizer
Once the stack sizer is installed, you can test it to ensure that it is working properly. Place a few pieces of material into the stack sizer and turn it on. If the stack sizer is working properly, the material should be evenly distributed and the stack should be even.
Step 7: Enjoy Your Stack Sizer Polyurethane Panel with Polyurethane Screen
Once you have tested the stack sizer and ensured that it is working properly, you can enjoy your stack sizer polyurethane panel with polyurethane screen. This panel will provide you with a durable and efficient way to sort and organize materials.
Step 3: Attach the Polyurethane Screen
Once the panel is cut to size, you can attach the polyurethane screen. Start by applying a thin layer of adhesive to the back of the screen. Then, carefully place the screen onto the panel and press it firmly into place. Allow the adhesive to dry completely before proceeding.
Step 4: Secure the Polyurethane Screen
Once the adhesive has dried, you can secure the polyurethane screen to the panel. Use a staple gun to attach the screen to the panel. Make sure to place the staples evenly and securely to ensure that the screen is firmly attached.
Step 5: Install the Stack Sizer
Once the polyurethane screen is securely attached to the panel, you can install the stack sizer. Place the stack sizer onto the panel and secure it with screws. Make sure to use the correct size screws for the stack sizer to ensure that it is securely attached.
Step 6: Test the Stack Sizer
Once the stack sizer is installed, you can test it to ensure that it is working properly. Place a few pieces of material into the stack sizer and turn it on. If the stack sizer is working properly, the material should be evenly distributed and the stack should be even.
Step 7: Enjoy Your Stack Sizer Polyurethane Panel with Polyurethane Screen
Once you have tested the stack sizer and ensured that it is working properly, you can enjoy your stack sizer polyurethane panel with polyurethane screen. This panel will provide you with a durable and efficient way to sort and organize materials.